

How Many Cans Of Spray Paint Ot Paint A Guitar Body
- Nigh
- Latest Posts
![]()
The Guitar Infinite Squad is a hodgepodge of guitar aficionados that can't stop playing, talking, writing, and thinking most all things guitar. Their commonage expertise is as vast and diverse every bit their experience, backgrounds, and favorite food choices.
![]()
I of the biggest limitations, when you're purchasing a depression budget electric guitar, is that there is isn't a large choice of color choices for these instruments which is why in this occasion we have decided to let you lot know how to paint a guitar in the correct fashion and what to prepare beforehand.
If you happen to be looking for a specific custom guitar color or y'all're just looking to refinish a guitar, it's actually pretty simple to learn how to refinish and repaint a guitar yourself!
Before you get into refinishing your instrument, know that refinishing and repainting a guitar is much more difficult than refinishing whatever other wood object, every bit a big amount of effort and attention has to exist paid in social club to achieve a smooth, sleek, factory advent.
When starting out this project, make sure that yous're prepared to take your time, every bit painting guitars and finishing their guitar body in the proper manner is a lengthy procedure that can take weeks to accomplish.
Make certain that yous don't rush when doing this job, as you may feel like there'due south a pressure being put on y'all to finish the job up quickly so that you lot tin get dorsum to playing your instrument.
Here'due south what you're going to need to become into your repainting projection:
- Guitar
- Orbital sander
- Sanding paper or sanding sponge
- Fine grit, medium, and fibroid sandpaper
- Vacuum cleaner
- Cloths
- Mineral spirits
- White Primer
- Spray cans or paint
- Spray gun (if you make up one's mind to use spray cans)
- Articulate colour coats
- Ultra-fine sandpaper pads
- Dust mask and eyeglasses
- Wire cutters
- Screwdriver
- Allen wrenches
- Soldering atomic number 26 and solder
- Masking record
If you are doing your ain paint job, brand sure that you lot follow some simple guidelines that we list in this article and that yous don't rust, as your rush job and mistakes will prove through in your terminal results!
How to Repaint or Restain, or Refinish a Guitar
1. Begin to disassemble your guitar
Epitome from WikiHow
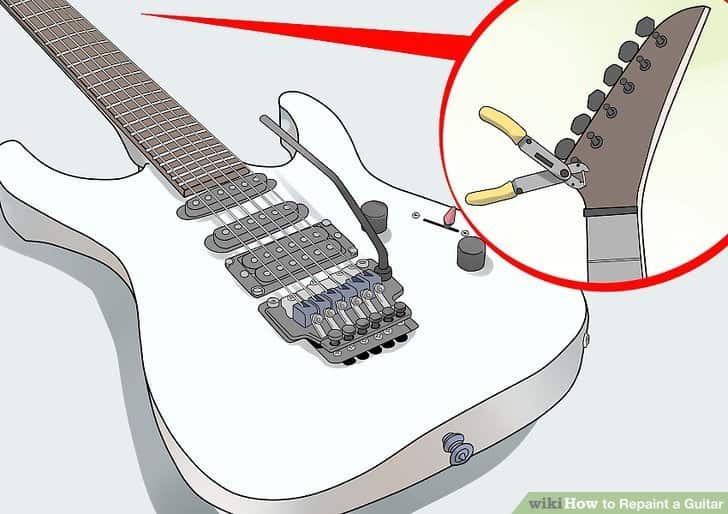
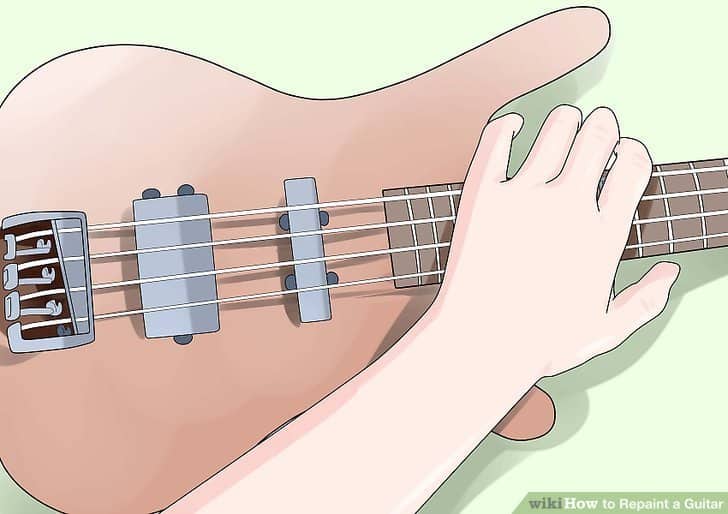
You're going to want to start the process of repainting your guitar by first disassembling the instrument.
Yous tin can start this process past removing the strings of your guitar, but by clipping the strings away with a pair of wire clippers or cord clippers.
There is no style that you lot tin can repaint a guitar with this strings on, which means that when you're finished painting your guitar, you lot're more than probable going to need to re-adjust your truss rod once y'all put the guitar back together.
2. Take the neck off of your guitar
Prototype from WikiHow
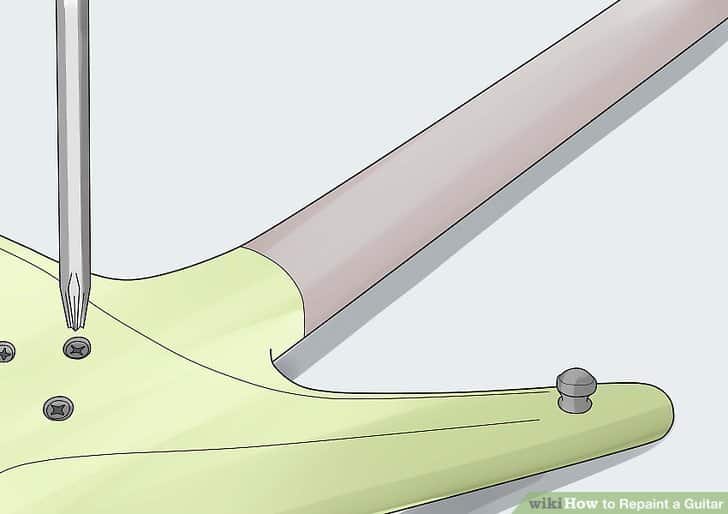
After removing the guitar strings from the instrument, you're going to adjacent work on removing the neck of the instrument.
Guitar necks that bolt on are really pretty like shooting fish in a barrel to remove, as all yous have to practise is unscrew the bolts that are on the back of the cervix joint and gently wiggle the neck costless.
All the same, if y'all happen to have a neck that'south glued on, glued necks aren't meant to be removed, so you'll only have to leave the musical instrument'southward cervix alone and repaint information technology to match the balance of the body.
3. Remove the hardware from your guitar
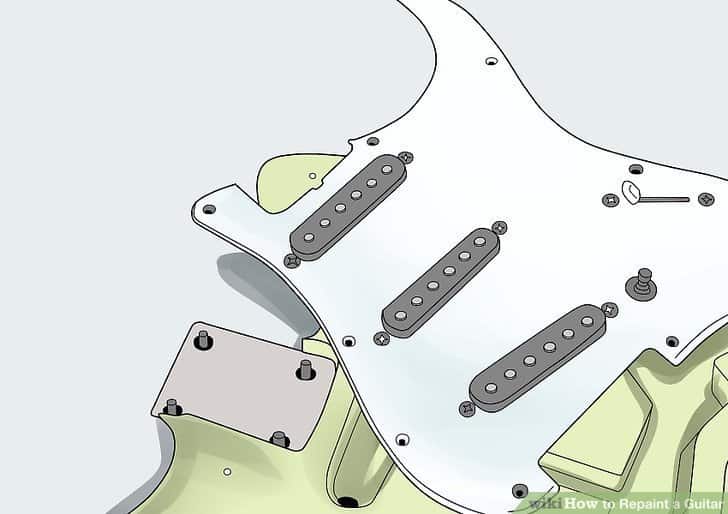
Image from WikiHow
Once you lot've removed the neck of the guitar, you'll work on removing all of the hardware on the guitar. You can use a screwdriver or an Allen wrench to remove the span, knobs, strap buttons, pickguard, pickups, and the output jack.
In that location are some guitar models where the output jack and knobs are wired to the pickups through holes that are in between each cavity, and so you're simply going to need to cut the wires in order to remove each piece of hardware.
However, you lot should ensure that you know how the wires are wired then that you lot can put everything back together correctly.
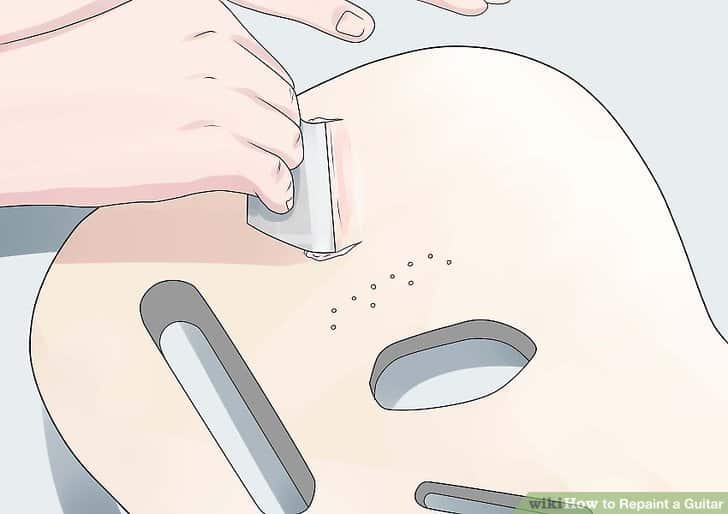
4. Consider Removing your Guitar Bridge Studs
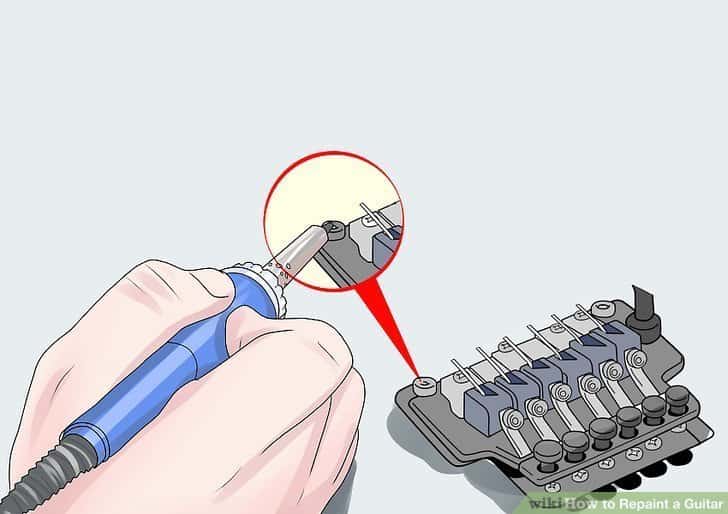
Image from WikiHow
The bridge studs are what you lot're going to work on later removing some the residue of your hardware. Some instruments don't have any bridge studs, but the bridge of the guitar tin can just be unscrewed from the body of your musical instrument.
Sometimes, information technology can exist difficult to remove bridge studs because they're hammered into the woods of the guitar.
If you're really desperate to remove the bridge studs, you can oestrus the wood up with a soldering iron and so that the wood heats up and when the studs start to absurd downwards, they will contract and go easier to remove. The downfall to do this is that when yous utilise pliers to remove the bridge studs, yous tin scar the finish of the studs and actually end upward ruining their appearance.
five. Organize your hardware
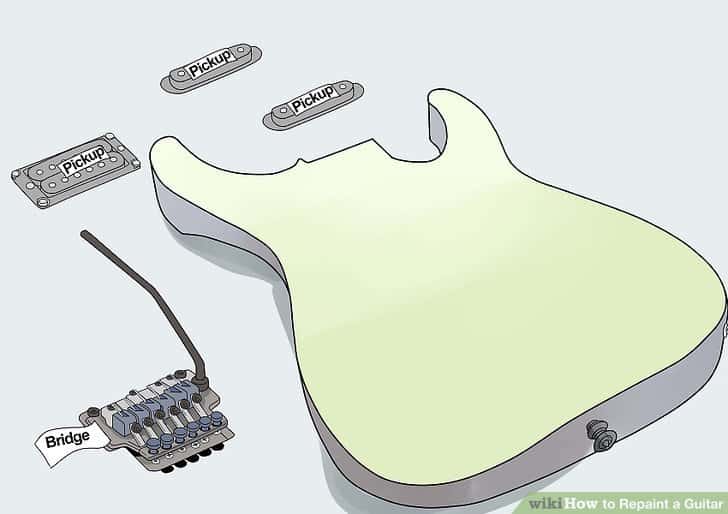
Image from WikiHow
Now that everything is removed from your instrument, yous should set all the hardware and fasteners aside in plastic baggies and label the baggies.
Refinishing your instrument tin can take you a couple of weeks (or fifty-fifty a few months), then you're really going to want to make sure that you lot have each commodities and screw labeled, as this will help to prevent any confusion when you lot're going and reassembling your guitar.
6. Remove the Old Guitar Finish by Sanding
Prototype from WikiHow
Since all of your hardware is at present off of your instrument, you're going to commencement to work on sanding the existing finish on the guitar. When sanding the existing finish on the guitar, you accept two options on how yous can become about on this procedure.
You can make up one's mind to either sand away the finish completely, or you tin can rough up the end that's already on the guitar to put on a fresh coat of pigment that'southward going to stick to the instrument.
When repainting your guitar and you've decided to get with a stain, a translucent paint, or going back to the original finish that'southward darker than the colour of paint that you're going with, you're going to completely remove the finish that'south already on the musical instrument. If you're but going to employ a solid pigment on your instrument, and then you're merely going to need to rough up the surface of your instrument.
Continue in mind that a lot of guitar builders hold that a thick coat of paint or finish will tonally diminish your instrument.
7. Employ an orbital sander
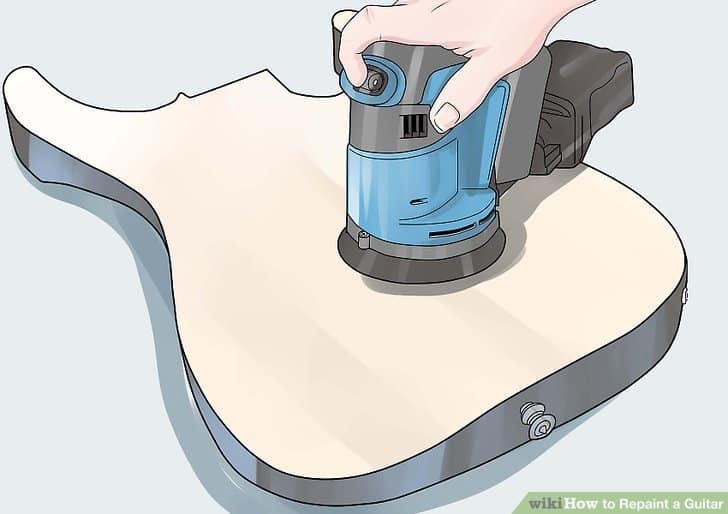
Image from WikiHow
Next, take an orbital sander (I recommend this Porter Cablevision Random Orbital Sander w/grit vac port) to remove almost of the end. You can fit an orbital sander with some coarse grit sandpaper and work it over the unabridged body of your instrument, using circular and smooth strokes.
Though you may be extremely tempted, don't utilise paint stripper; not only is this an extremely toxic and messy process, only virtually pigment strippers also don't have the capabilities to remove the stone hard polyurethane that a lot of guitar manufacturers use.
Recommended Guitar Sander
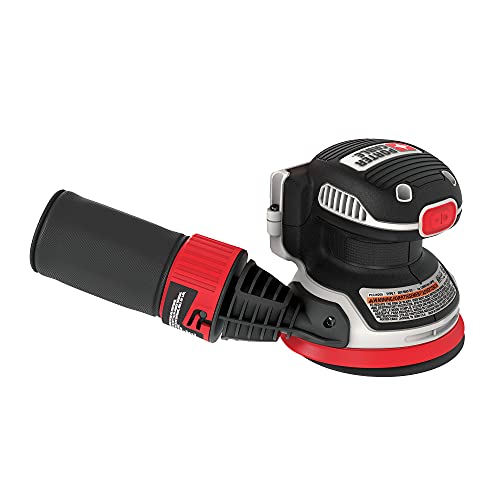
Porter Cablevision 20v Orbital Sander | Amazon
I personally recommend this sander every bit it's piece of cake to manuever and comes standard with a dust vac port for efficient dust removal for frail sanding projects such as this.
Buy at Amazon.com
We earn a commission if y'all click this link and make a purchase at no boosted cost to you.
06/09/2022 12:49 pm GMT
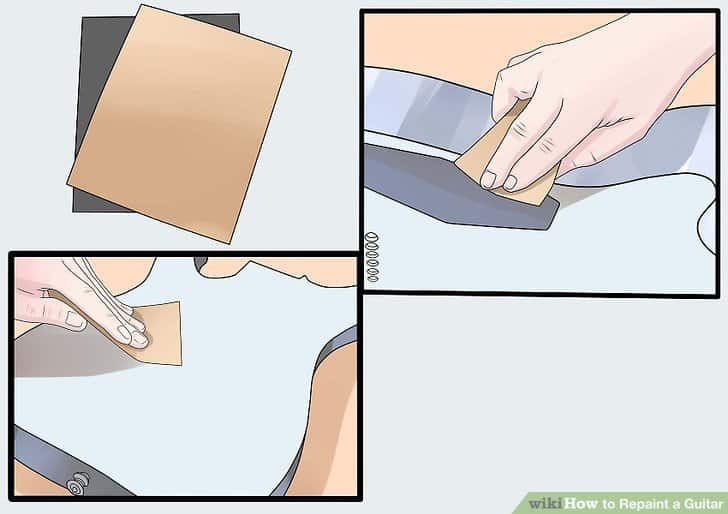
8. Have hand sandpaper to make it fine crevices
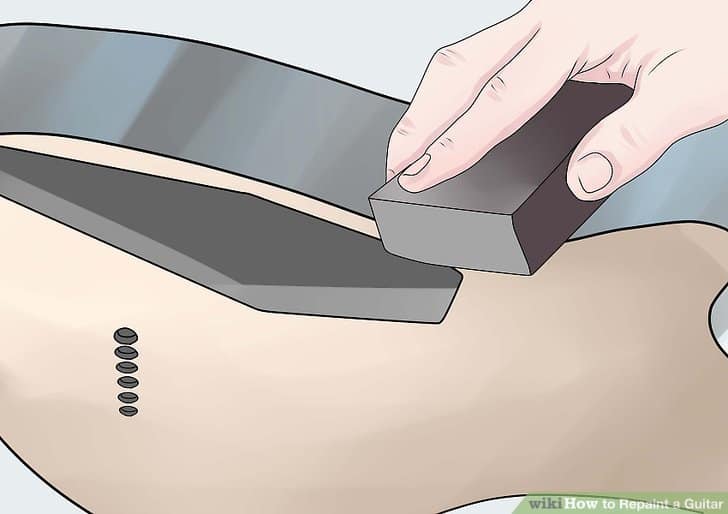
Image from WikiHow
Later on using your sander, if you've noticed that there is still finish on your instrument, you lot can utilize sandpaper to remove the rest of the cease.
Curved areas on your guitar are going to exist difficult for your sander to reach, so using fibroid grit sandpaper or a fibroid dust sanding sponge can be used to remove the finish in these difficult-to-reach places.
Recommended Hand Sander:Can use Nearly (in the 200-400 grit range), just I specifically recommend this 4-pack, starting with the 220 grit and working your way downward.
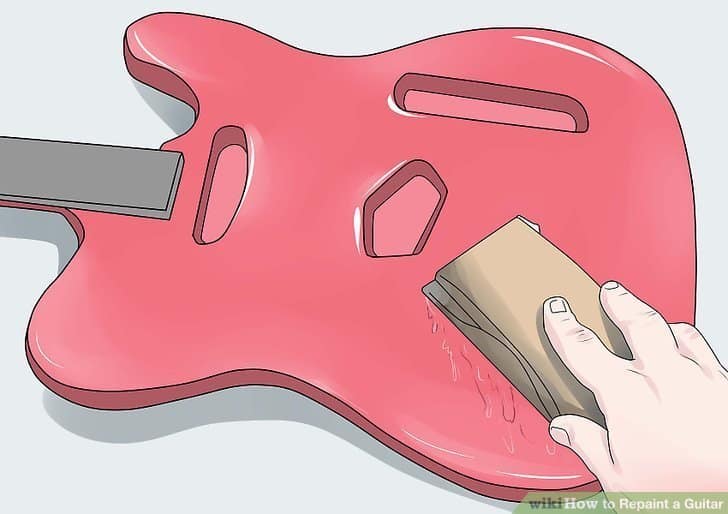
9. Go out your effectively sandpaper
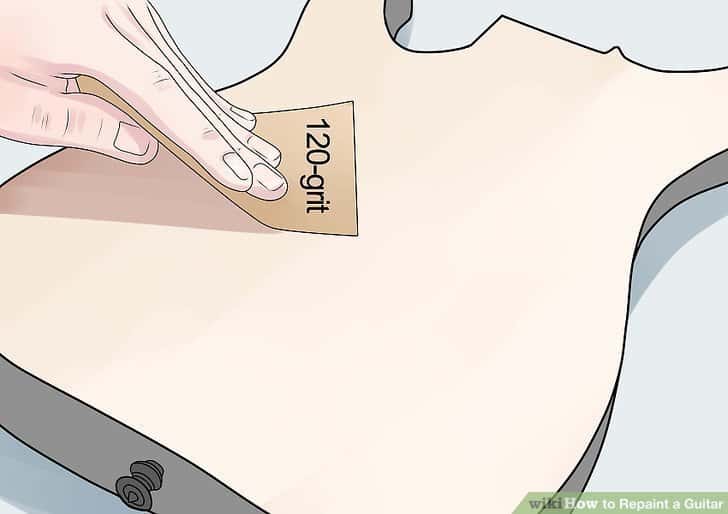
Image from WikiHow
Once yous've finished using the sandpaper, yous're going to piece of work on smoothing the guitar'southward torso. You lot can use a fine grain of sandpaper of to smooth out the wood on the guitar.
You're going to desire to work over the entire trunk of the guitar with a medium grit sandpaper (120 grit) and get back over over again with the entire body and use an fifty-fifty finer grit of paper (220 grit).
10. Vacuum up your mess
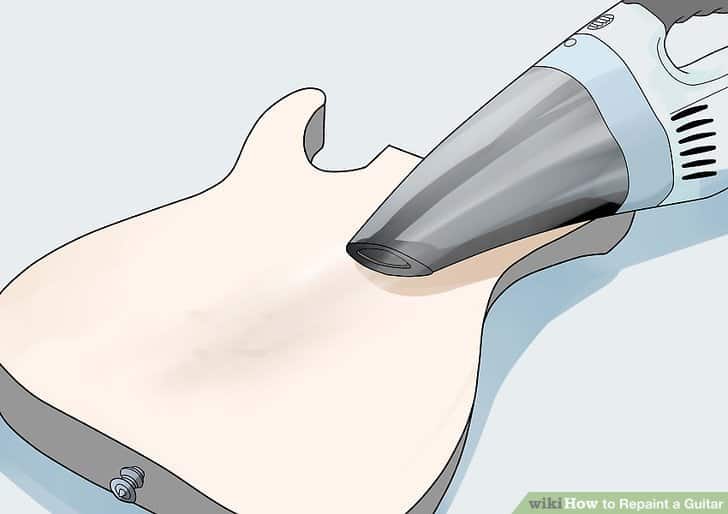
Image from WikiHow
At present that y'all're all done working on removing the finish of the guitar and smoothing the body down, yous're going to need to remove all of the dust on the guitar.
A vacuum cleaner with a hose attachment will remove most of the dust that came from your sanding.
In guild to remove additional dust using a tin of compressed air to spray the dust away or you can wipe abroad the grit with a moistened cloth that's been dampened with water.
11. Use a grain filler
Epitome from WikiHow
Unless you lot are purposefully going for the unfinished and distressed expect, y'all are going to desire to apply grain filler to your guitar'due south body when yous're working on mahogany or other porous woods.
A grain filler is another term for putty or a filler to brand your guitar's surface fifty-fifty for when you start painting.
If you decide to become with a filler, cull an oil-based or a water-based fill that will friction match the terminate or paint that you're using.
Recommendation: Stick to a WATER based grain filler like this one as it's less mess and dries faster.
Recommended Guitar Grain Filler

ColorTone Powdered Grain Filler | Amazon
You can go by with any water based woods filler, but the folks at ColorTone created a grain filler specifically for guitars which I highly recommend! Annotation: you tin also detect different color variations (e.yard. mahogany) if you adopt a particular finish.
Buy at Amazon.com
We earn a committee if you click this link and make a buy at no boosted cost to yous.
06/09/2022 xi:19 am GMT
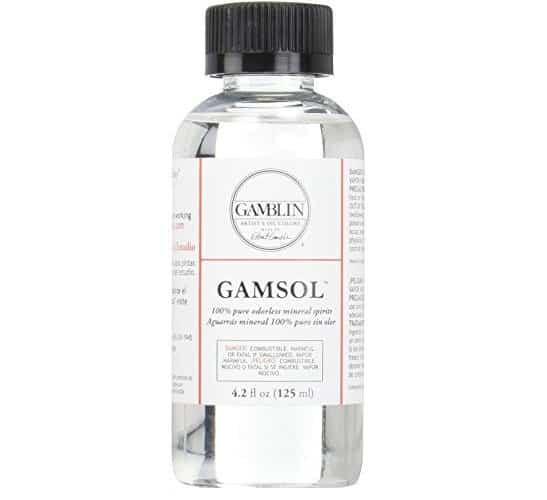
12. Utilise mineral spirits

Image from WikiHow
Once you are all finished applying a grain filler, apply mineral spirits to remove all of the oils that are on superlative of your guitar's body. After you lot've applied the mineral spirits, don't affect your guitar!
Expect for the mineral spirits to dry before yous touch because otherwise, the oils from your fingers will ruin your new stop.
13. Go your Guitar Set up for Repainting
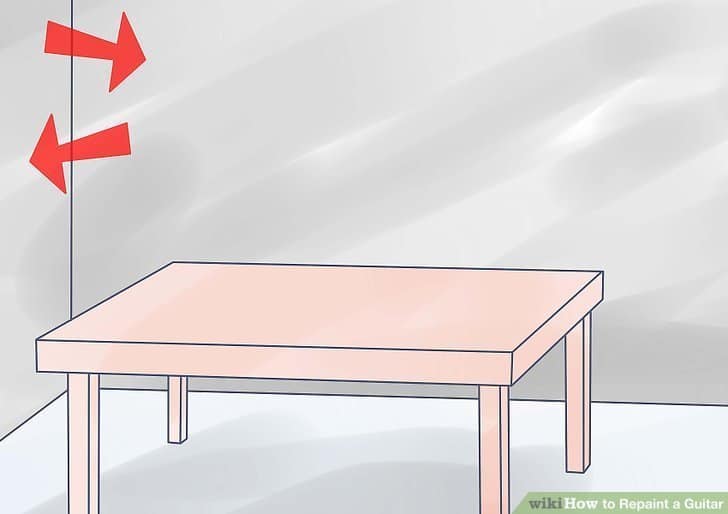
Epitome from WikiHow
Before you begin to apply your new pigment or finish the job, you lot should place your musical instrument within of a large box that is sitting on meridian of a type of portable table (like a TV tray).
The opening of the box that you've called should be laid on its side and so that when you're painting your guitar, all of the paint is contained inside the box, while also allowing the guitar to slide in and out of the box with ease.
Also ensure when you lot're getting your area gear up for painting your instrument that you're doing then in a room that'southward nice an open up, that mode you lot don't have to worry about your furniture getting accidentally painted.
14. Figure out what paint (or stain) you want to use
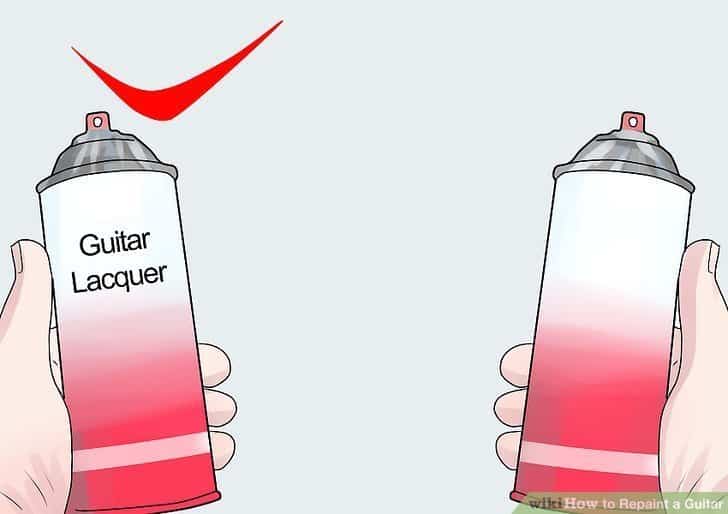
Now comes the fun part!
You should pick out the stain or the pigment that you want to use. If you plan on painting your guitar with a solid color, find yourself a pigment that's durable, such every bit a paint with nitrocellulose or polyurethane.
Nitrocellulose is the all-time decision for you to make and can be constitute at auto part stores or online, merely the biggest downside to this paint is that takes a long while to dry. If you lot're looking for a stained finished, you're going to want to use a water based stain, also every bit a nitrocellulose or polyurethane clear coat.
Or you could choose to use an oil-based stain with oil-based finishes. Yous can also utilise spray on finishes, as this volition foreclose any possibilities of castor marks existence left on your final result.
Recommendation:ColorTone also offers a bully custom created guitar lacquer product here, which is now my go-to vs trying to mix and lucifer various general laquers.
15. Employ primer
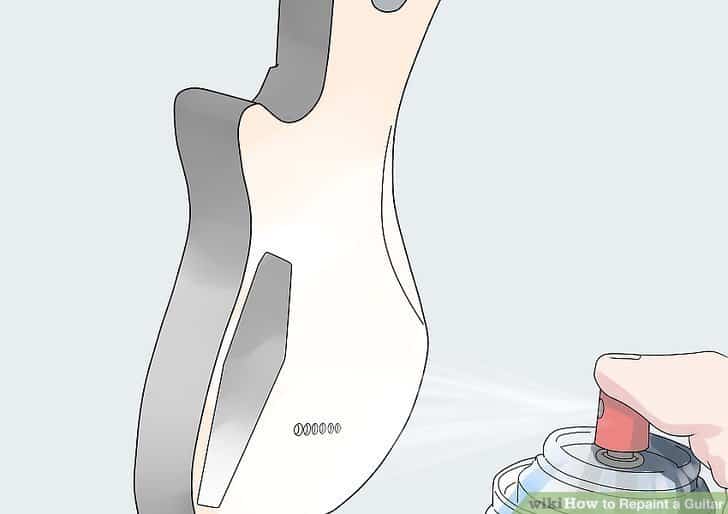
Image from WikiHow
Before going in and adding your new finish or paint to your guitar, you should add a few coats of primer to your musical instrument that matches the blazon of paint that you are going to utilise on your musical instrument.
Utilize two to three thin coats rather than one thick coat of primer, every bit this will ensure that the primer will dry properly and that it won't drip.
16. Before you starting time painting
When you're working on applying your new stop, exist certain that you're painting in a dust free surround. Painting outside is a bad idea because bugs are naturally drawn to the aroma of your paint and volition become themselves stuck in the wet paint.
This volition cause your finish to look lumpy, bumpy, and poorly crafted! When y'all're painting in the indoors, make certain that you use a quality air mask and goggles in club to protect yourself against the harmful vapors from the paint or stop.
17. Beginning Painting your Guitar
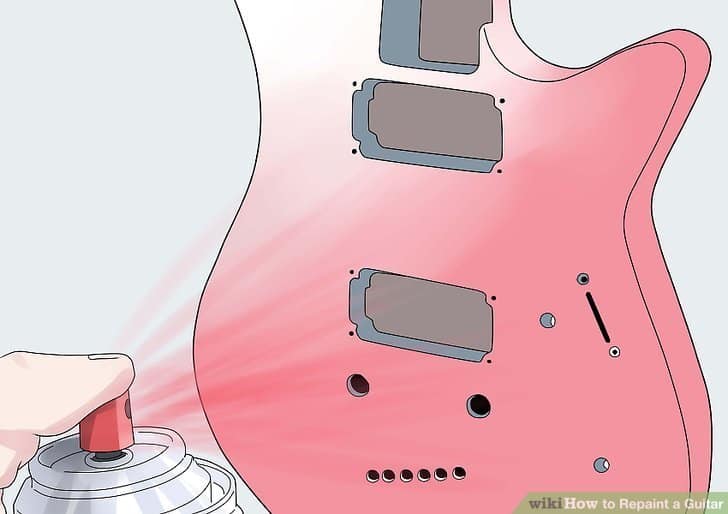
If you've decided that you lot're going to use a spray paint, make sure that you're applying sparse layers of pigment and allowing each thin coat to dry out completely before applying another coat of paint.
Before applying your clear coat of paint, you lot should permit your colored coat of paint to completely dry for one week before the articulate coat.
Recommendation:I also highly recommend going with ColorTone waterbase finish gloss / tiptop coat here.
18. Starting time using your stain
On the other side, if you programme on using a stain, you lot're going to need to wet the body of your guitar to make calculation the stain to your trunk easier, while likewise helping to avoid blemishes.
You're going to demand to utilise the stain on the guitar via the instructions that the manufacturer provides and y'all'll need to apply every bit many coats of stain until you've achieved your desired await.
Recommendation: A swell liquid stain for guitars is the ColorTone liquid stain available here.
nineteen. Use a clear coat
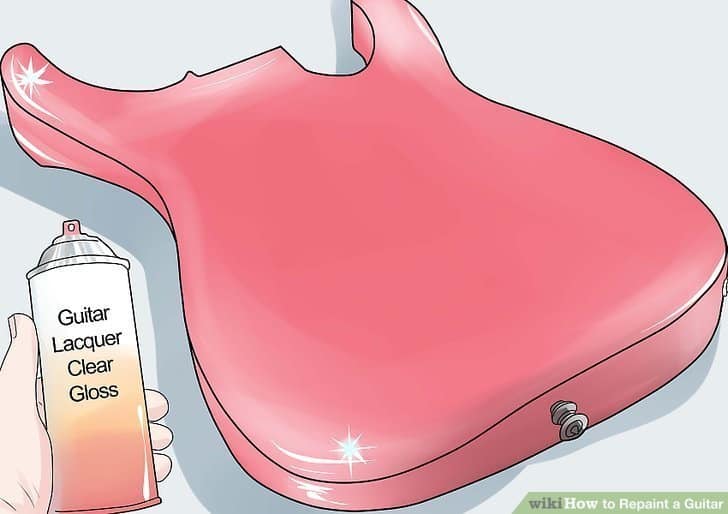
Image from WikiHow
Once your stain or your pigment has dried for a calendar week, you should utilize a clear coat to your instrument.
A nitrocellulose articulate coat is highly recommended (like this one). Make certain that when you lot're applying your coats of clear coat that y'all practice apply the glaze as sparse as you perhaps can, applying the second layer after the first layer has dried, and so on.
You lot may even need upward to add upward to a dozen coats to get a factory finish. If you happen to choose a nitrocellulose or a polyurethane finish, you should wait betwixt three to four week for the paint to completely harden. However, if you happen to use an oil-based finish, you lot're only going to need to wait a few days for everything to harden.
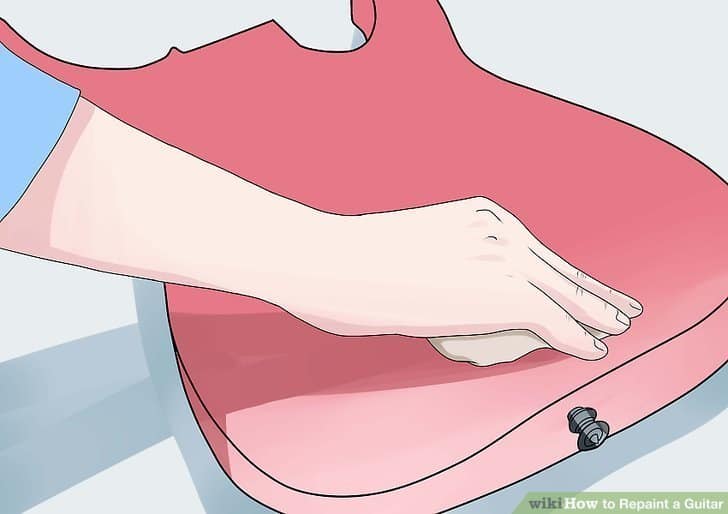
twenty. Smoothen the finish
Don't dry sand the polish (use a wet sanding technique)! When you're sanding the shine, make sure that yous are doing moisture sand on the hardened terminate starting with a fine grit (400) and to a more rough dust (2000). Your grit process should go from 400 grit, 600 dust, 800 dust, chiliad grit, 1200 grit, 1500 grit, and 2000 dust. Here's a expert multi-pack of sandpaper grit here.
Don't skip over or miss any scratches, swirls, or tiny pits in the finish or otherwise; they volition be impossible to get out.
Likewise, ensure that y'all don't sand through the clear colour glaze and into the color, so be extremely careful when you're sanding nearly the edges that way yous don't sand into the pigment.
21. Reassemble your Guitar

Image from WikiHow
At present that all of the pigment is dried and you've sanded everything down screw or bolt your guitar's hardware back together.
If you had to snip any wires to take apart your guitar, you're going to take to solder the wires back together. This would be a great time to replace any cheap manufactory components with college quality ones.
This is also the time where yous tin can replace your quondam pickguard with something new! Once you have your instrument assembled again, you can clean and shine your guitar with your typical guitar smoothen. Then cord it, tune it, and play!
The Final Brush: Repainting a Guitar
If y'all happen to decide that you're going to remove any onetime paint with pigment stripped, but exist extremely cautious when doing so! Utilise a quality paint respirator and brand sure to do this outside, as paint stripper is toxic and carcinogenic, and then using your pigment stripped outside will exist much safer for your personal health.
Also, always brand sure that you vesture centre goggles and a dust mask when yous're sanding! Be careful, be patient, and adept luck on epainting your guitar!
(Images courtesy of Wikipages)
Farther Reading on Guitar Maintenance & Projects:
- How to Properly Maintain Your Acoustic Guitar to Build Lasting Love
- How to Properly Clean Your Guitar Strings
- How to Clean a Rosewood Fingerboard
FAQs About Guitar Repainting
Question: How long does it take to repaint a guitar?
Answer: Repainting a guitar might take from 3 days to 2 weeks, depending on the method of painting that you choose and the atmospheric condition conditions. Laquer takes about 48 hours to dry out, whereas spray pigment takes thirty minutes to 1 hours to dry.
Question: How much does it cost to repaint a guitar?
Answer: This is as well up to the choice of color and method, but for starters, you will need around $250 bucks to DIY at home, although we always advise you lot to trust professionals with your beloved instrument.
Question: Does refinishing a guitar affect its value?
Answer: Unfortunately yes. Refinishing a guitar tin can decrease its value for one-half of the toll on the collector's market, no matter how great the terminate is.
Top Picks for Guitar Care

Source: https://guitarspace.org/guitar-maintenance/how-to-properly-repaint-your-guitar/
Posted by: hardytogre1977.blogspot.com
0 Response to "How Many Cans Of Spray Paint Ot Paint A Guitar Body"
Post a Comment